Introduction
This article will explain how to perform a live streaming session with HD audio and video with your peers.
Sienna Sphere allows users to perform realtime HD audio calls with anybody anywhere in the world. It is quite simple to perform a call, we will start with the starting checklist:
- A stable internet connection of at least 5MBits/s in download and 1MBit/s in upload ( these are minimal specs, which will allow you to perform a call with medium/low quality )
- A microphone and optional webcam
- A supported browser
- Chrome
- Edge
- Safari
- Firefox
- Opera
- Brave ( must disable Brave Shield in order to use the plugin )
UI overview: start window

- START: this button will start a Live session
- Room Link: this button will copy in your clipboard the room link you can give to your peers to join the call
- Instructions: will open a small instructions window that briefly explains how to perform a live session
- Installer: this link will download the installer for the Sienna Sphere Web App plugin and Syste Wide application to broadcast your daw’s audio or OS audio respectively
- Room Code: this is your host room code
- This button copies the room code to your clipboard
- This button generates a new room code
- Room Code: this is the guest room code, if you are joining a call you may type or paste the room code you want to join in here
- JOIN: this button will join someone’s session
Grant permissions

Due to modern browser restrictions, upon starting a session or joining one, you will be asked for webcam/microphone permissions by your browser. Additionally you will have to press ok to start from the alert window shown in the above image in order to give permission to your browser to connect to the plugins/app that will run in your daw/operating system. This is a mandatory step
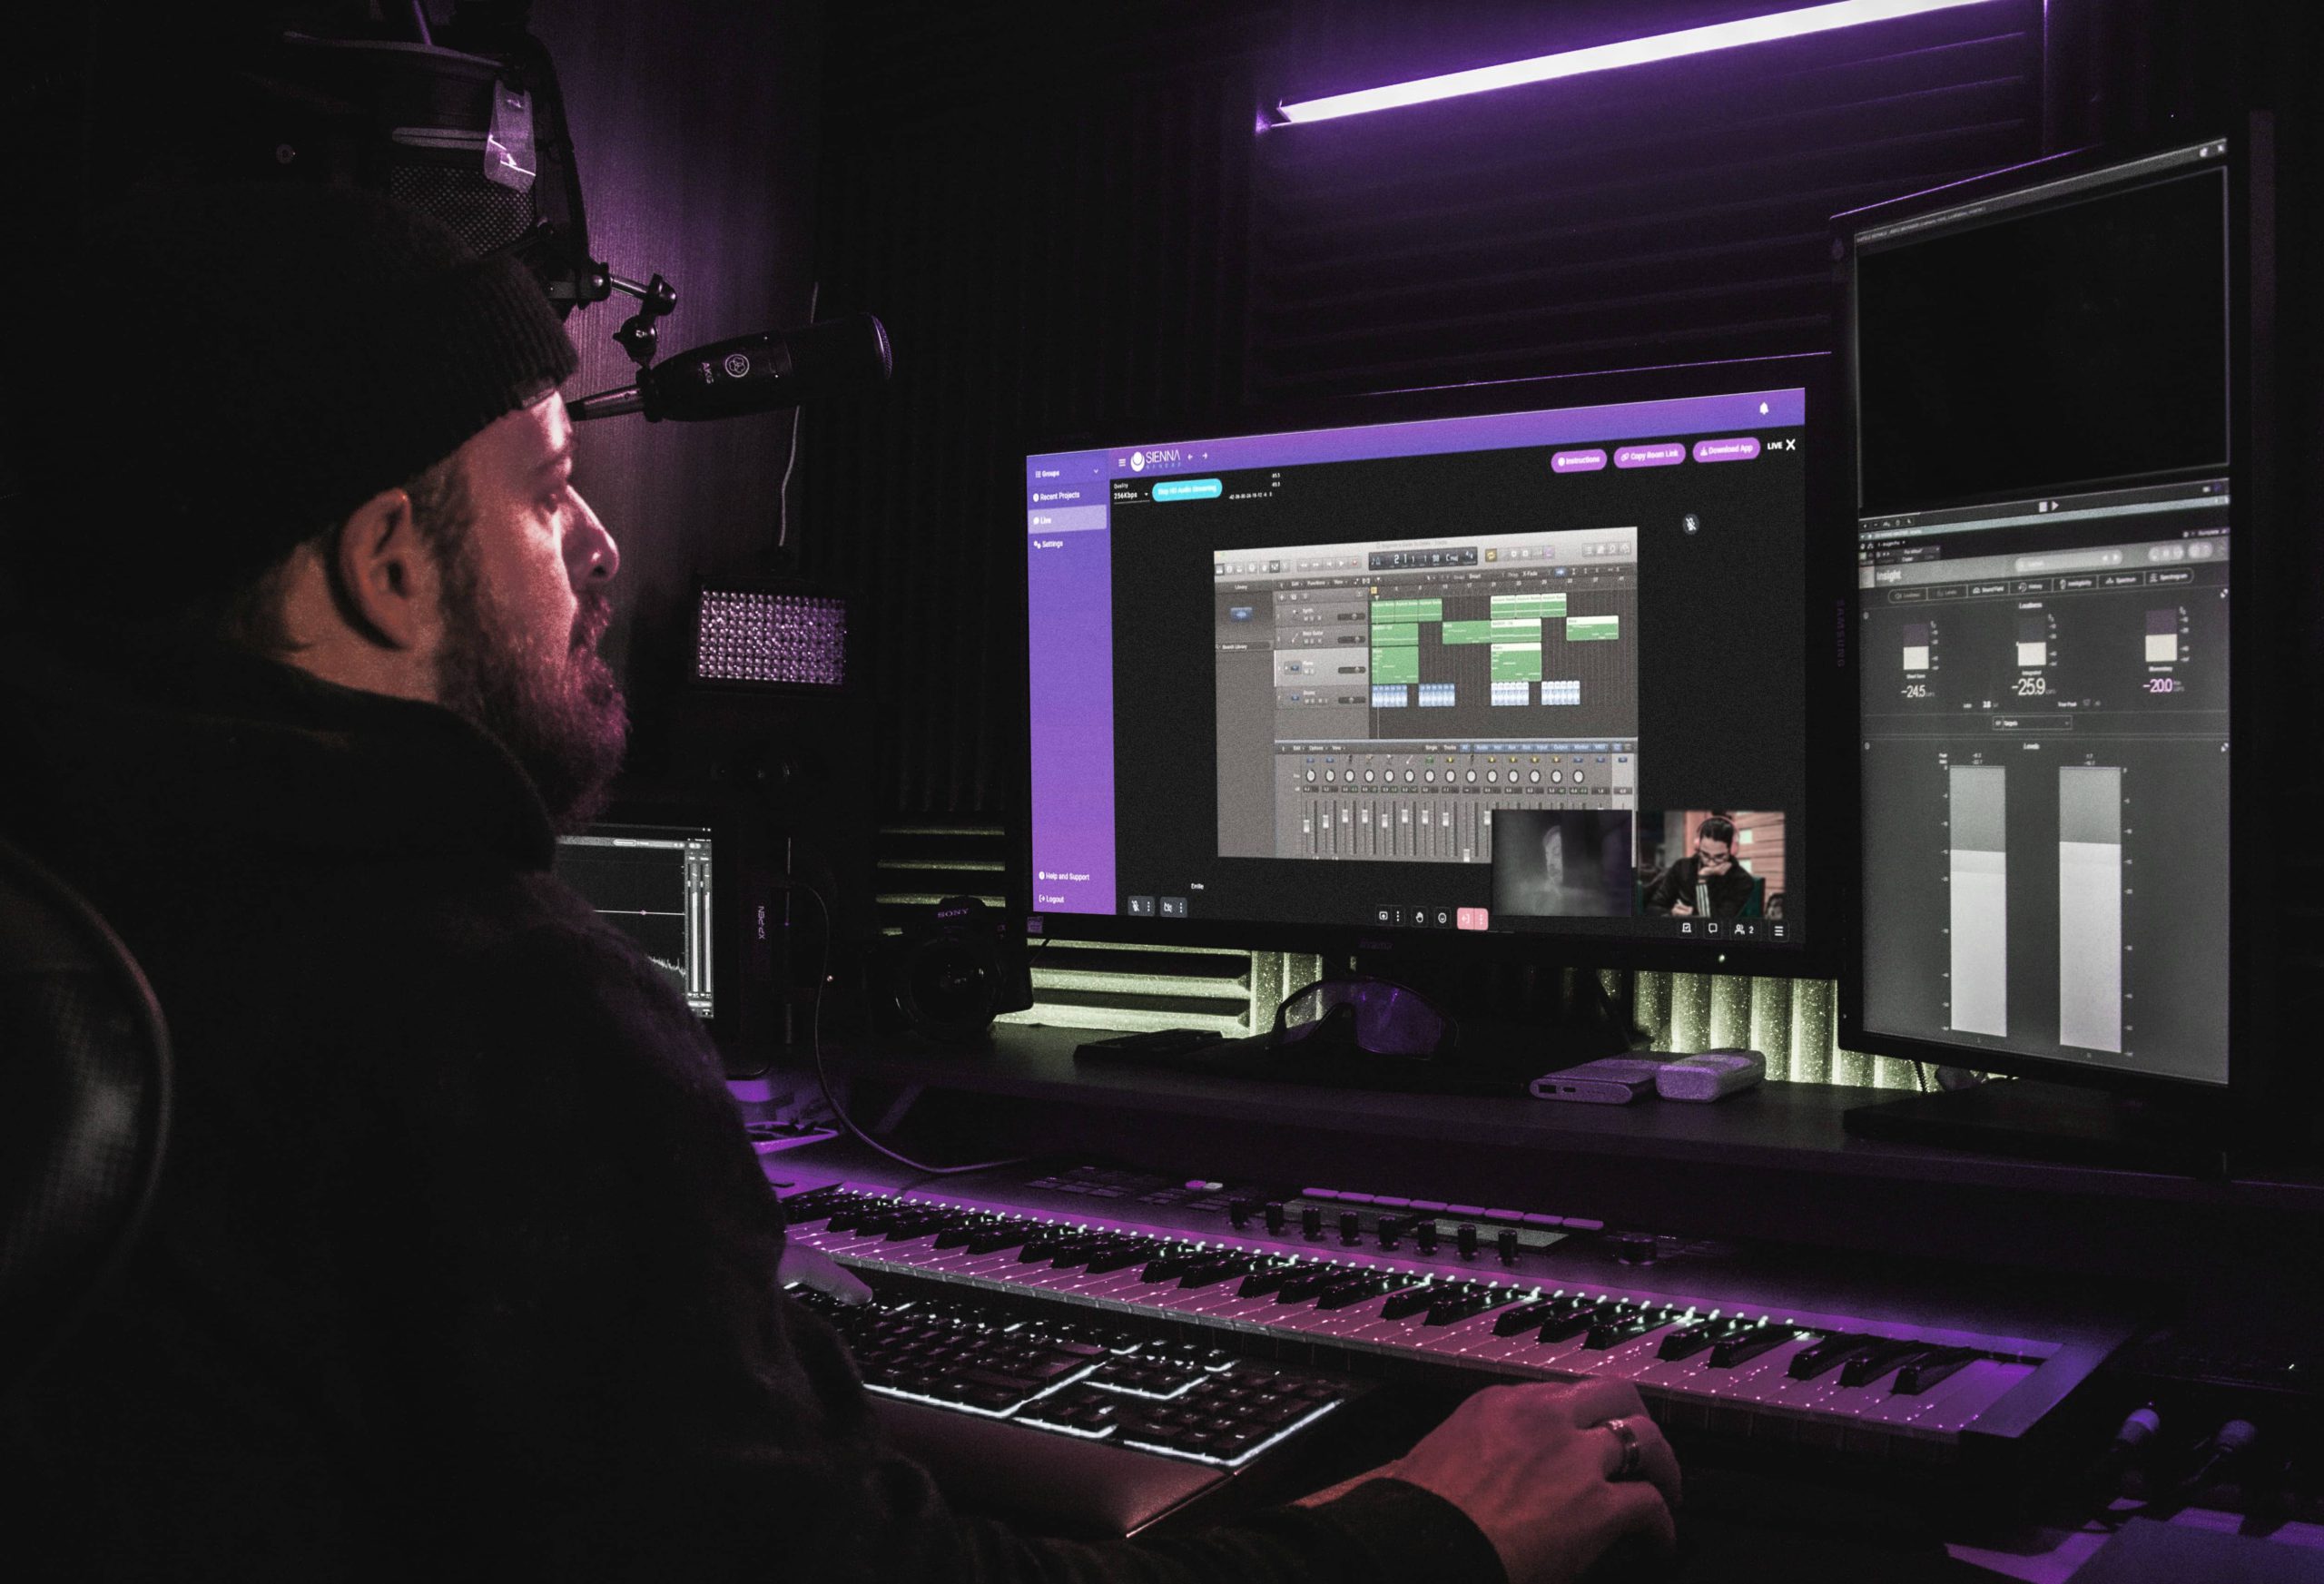
UI overview: LIVE window

Here is where you will perform the live session and be able to talk and chat with your peers in real-time and with HD audio.

- Quality: here you can select the quality of the HD audio broadcast during your call
- Plugin: this switch will enable or disable the audio plugin HD audio from your daw to the browser. It has a little icon that turns green once the plugin is connected, otherwise it stays red
- System Wide: this switch will enable or disable the System Wide App for HD audio from your operating system to the browser. It has a little icon that turns green once the plugin is connected, otherwise it stays red
- Audo Mute: this enabled the auto mute functionality, which mutes your microphone’s audio whenever audio is detected from your plugin
- Start Rec: this will start recording your session, locally, on your pc or mac
- This avatar is for HD audio monitoring, there is one for each connected user and whenever audio is being broadcast it will show a peak meter firing up.

- Microphone control: here you can select the microphone you will be speaking from and activate/deactivate it
- Webcam control: here you can select the webcam you will be speaking from and activate/deactivate it
- Background blur: here you can toggle background blur

- Screenshare: here you can select wether to activate screensharing or not for your LIVE session
- Raise hand: whenever you would like to politely raise your hand for guest or host attention you may press this button
- Reactions: you can toggle reactions in your live sessions
- Exit: this button will terminate your live session

- Instructions: this link will open a small window with brief instructions/reminder for how to use the live session functionality
- Room Link: this will copy the room link to your clipboard
- Installer: this will download the installer for the plugin and system wide application to live stream in HD audio from your daw or pc/mac respectively
- Exit: this will terminate your live session

- Your webcam output
- Toggle polls and quizzes
- Start the live session chat
- View session participants
- View settings and advanced features
Bi-Directional HD Live audio

The host can enable bi-directional HD live streaming for any participant by clicking on his avatar in the left side avatar list and clicking on “Enable Co-Host”. This will immediately enable controls on the peer’s browser window that before where present only on the host, hence HD audio streaming controls.
Plugin: Sienna Sphere Web App

The plugin is available for both windows and mac and will broadcast HD audio directly from your daw to anybody who is connected to your live session.
Supported DAWs:
- Reaper
- Cubase
- Nuendo
- Pro-Tools
- Logic
- Ableton
- FL Studio
- Wavelab
- StudioOne
- BitWig Studio
If your daw is not in the list you can still open the plugin and check if it works or not, most likely it will. If you experience any problems you may open a ticket using the feeback widget in the bottom right corner of this page.
The plugin works with every sample rate and needs at least 1024 buffer samples to provide flawless aduio although you can try with lower buffer sizes.