Table of contents
With Sienna Sphere Web App you can easily transfer large files up to 5GB in the free plan and with no caps in the paid plans. You can set an expiration date for your transfer and choose to deliver it with a link or with an email. You can also password protect your transfer for safety reasons.
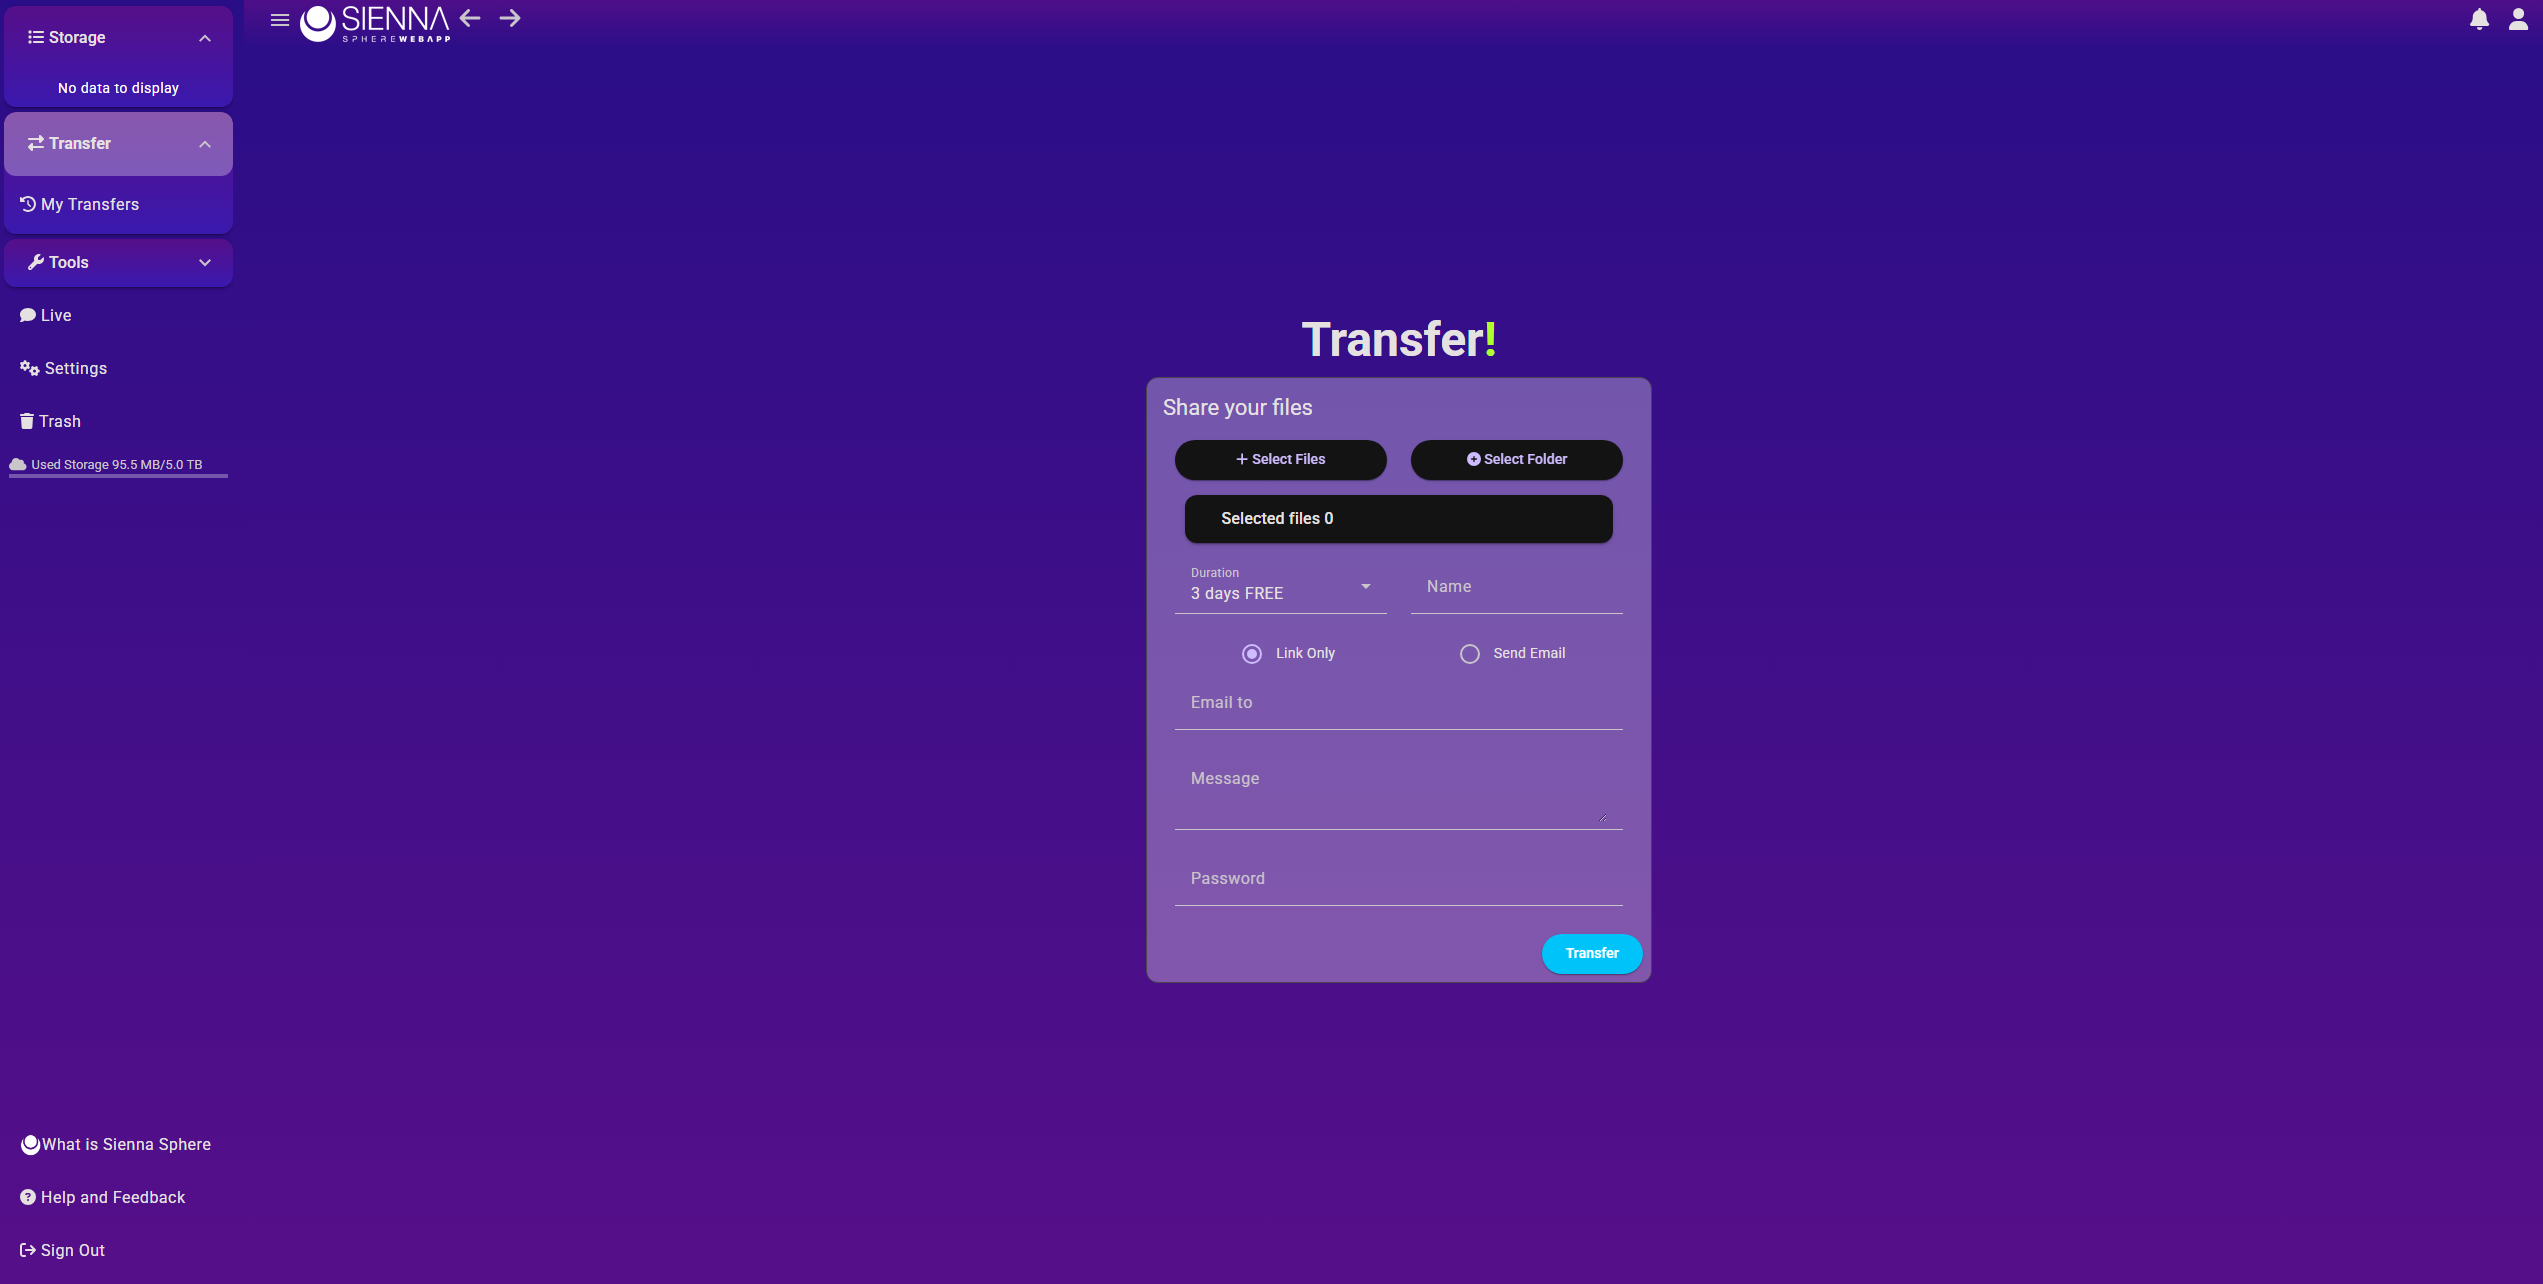
UI Overview: start a transfer

- Select Files: this button will open your system’s browser to select one or more files to upload
- Select Folder: this button will open your system’s browser to select one or more folders to upload
- Selected Files: here you can view a list of the selected items for your transfer and remove them if necessary
- Duration: with this dropdown you can select your desired duration for the transfer. Which you can always edit in a second moment, even after you have sent your transfer
- Name: here you can give your transfer a name
- Link Only – Send Email: mutually exclusive selection. If you select Link Only then a link will be generated for you and you can send it as you may. If you select Send Email and email will be sent to the desired email addresses you can set below. The email shall contain the transfer link.
- Email to: here you can add your email contacts if you have selected the Send Email method
- Message: here you can add a message to your transfer
- Password: here you can set a password for your transfer. Leave blank for no password. You can always change the password after you have sent out your transfer.
- Transfer: this button will effectively start uploading the data and create the transfer.

If you have selected the Link Only method then a link will be generated once all files have been uploaded.

View existing transfers

You can view all your existing transfer and edit or delete them from the Transfer History section which you can reach from the side navigation menu.

- Search: type the name or a portion of the name that you gave to your transfer in order to search for it
- Copy Link: this button will copy the transfer link to your clipboard
- Edit: this button will open the edit view for your transfer
Edit a transfer

- Link: you can view your link and copy it to your clipboard
- Expiration date: here you can edit the expiration date of your transfer with limits depending on your subscription tear.
- Password: here you edit, set or unset your password. If you want to remove the password just set it as a blank field, if you want to edit it just click on the pen on the right hand side of the field. To view the password you can click on the eye icon.
- Download: this will download the transfer files to your system
- Delete: this will delete the transfer
- Files: here you can view details on the files within the transfer